
Introduction
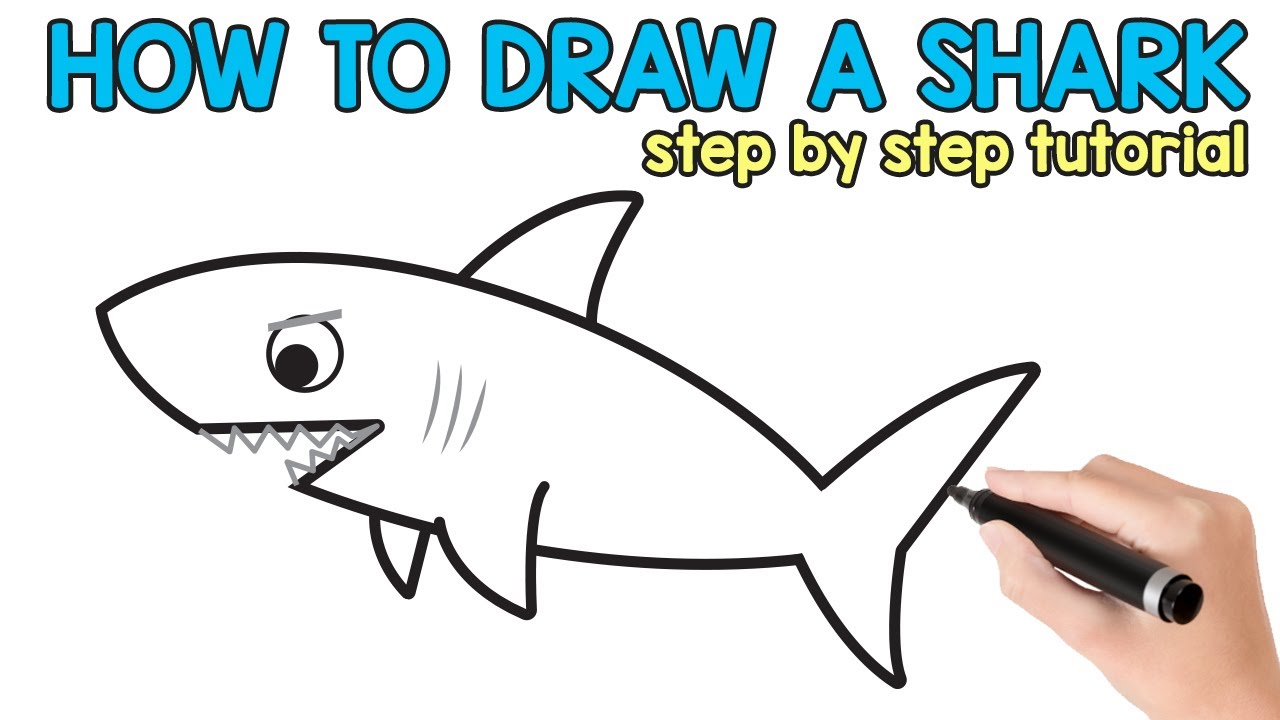
Sharks have always fascinated people with their unique appearance and powerful presence. If you are interested in learning how to draw a shark, you have come to the right place. In this article, we will guide you through the process of creating a simple and easy shark drawing. Whether you are a beginner or an experienced artist, these step-by-step instructions will help you achieve impressive results. So, let's dive into the world of shark drawing!

Materials Needed
Before we begin, gather the following materials:
- Pencil
- Eraser
- Drawing paper
- Colored pencils or markers (optional)
Step 1: Basic Shapes
Start by drawing a circle for the shark's head. Then, add a long oval shape below the circle to represent the body. These basic shapes will serve as the foundation for your shark drawing.
Step 2: Fins and Tail
Next, sketch the shark's dorsal fin on top of the circle and add two smaller fins on each side of the body. For the tail, draw a triangle shape extending from the end of the oval body. Make sure to give it a slightly curved appearance to add more realism.
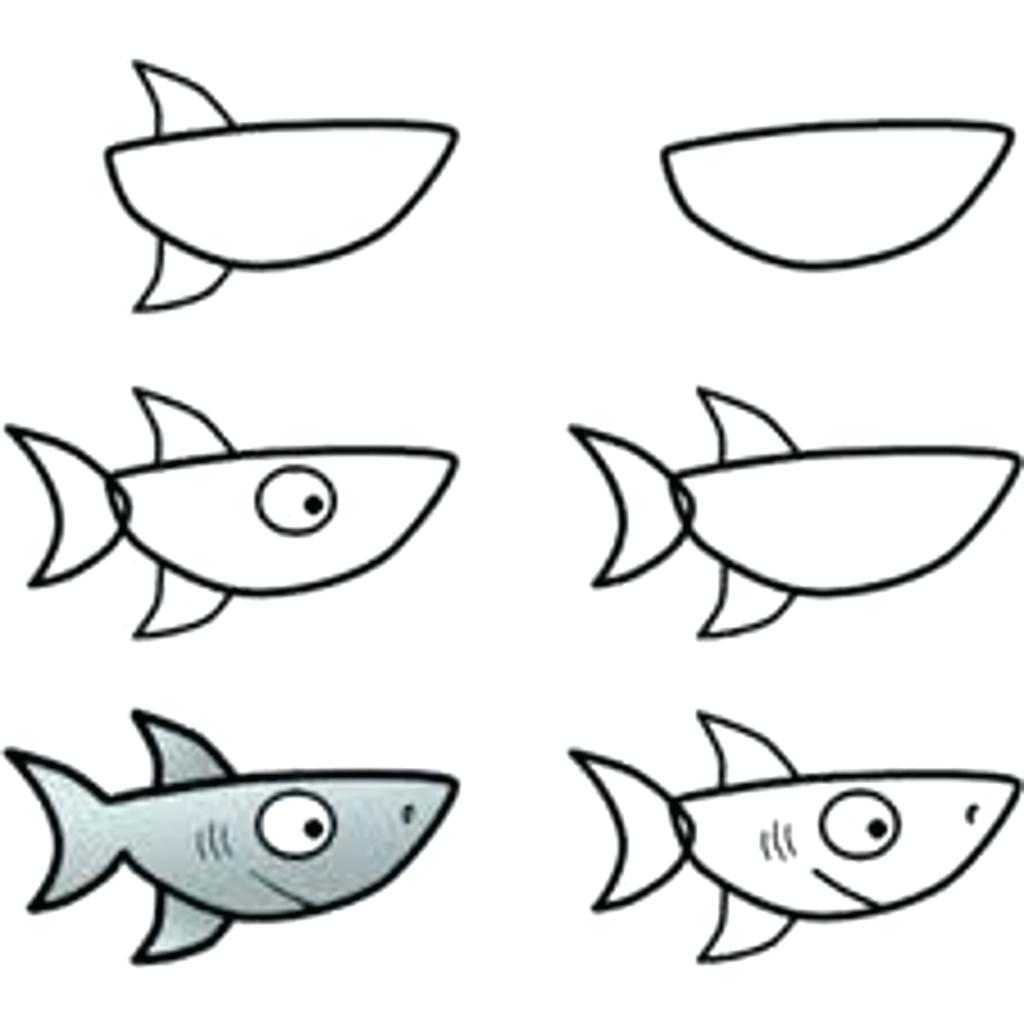
Step 3: Detailing the Face
Now it's time to add details to the shark's face. Draw a line to divide the circle into two halves. This line will serve as a guide for the placement of the eyes and mouth. Then, sketch two small circles on the upper part of the face for the eyes. Add a curved line below the eyes to create the mouth.

Step 4: Teeth and Gills
To make your shark drawing more realistic, add some teeth and gills. Draw a series of triangular teeth along the upper and lower edges of the mouth. For the gills, sketch five curved lines on each side of the shark's body, just behind the head.

Step 5: Details and Textures
Now that you have the basic structure of the shark, it's time to add some details and textures. Start by refining the shape of the body and fins, adding more curves and definition. Then, draw small lines around the eyes and mouth to give them depth. You can also add some texture lines on the body to represent the shark's skin.
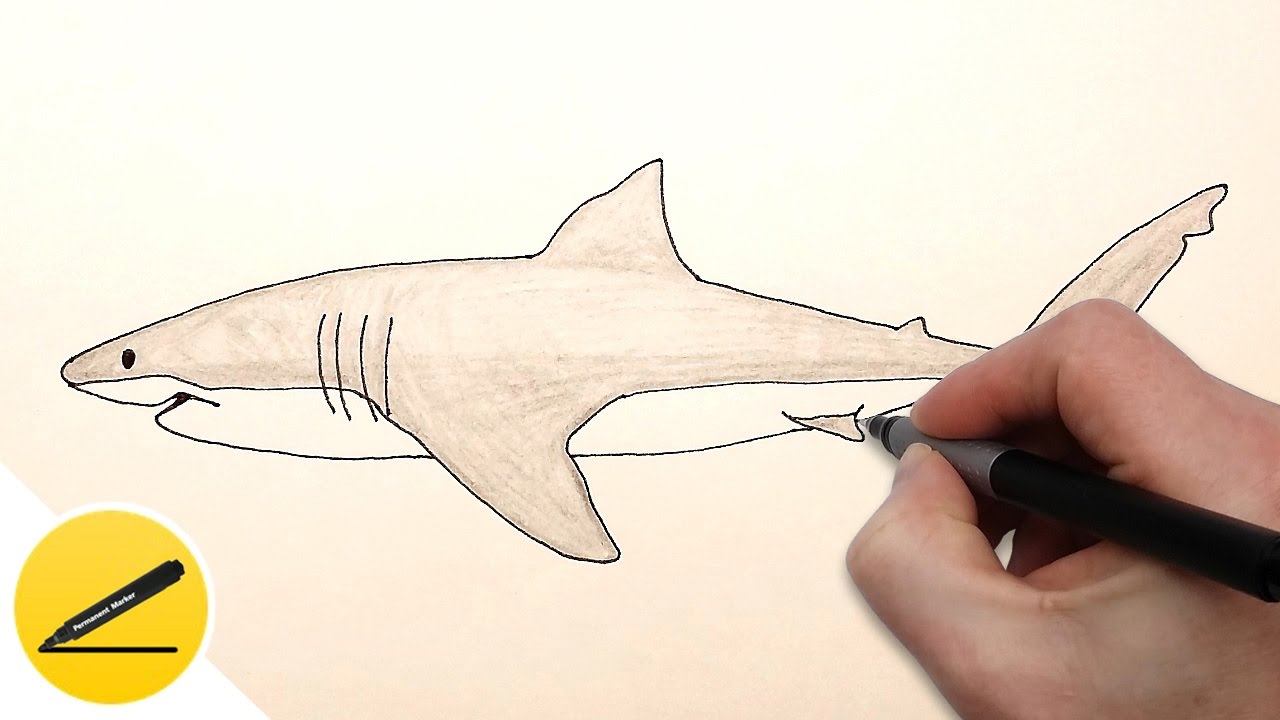
Step 6: Shading and Coloring (Optional)
If you want to take your shark drawing to the next level, you can add shading and color. Use your pencil or colored pencils to create shadows and highlights on the shark's body, giving it a three-dimensional appearance. Experiment with different shades of gray or add vibrant colors to make your shark stand out.
Conclusion
Congratulations! You have successfully created an easy shark drawing. Remember, practice makes perfect, so keep honing your skills and exploring different techniques. With time and dedication, you will be able to create even more impressive shark drawings. Enjoy the process and let your creativity swim freely!
